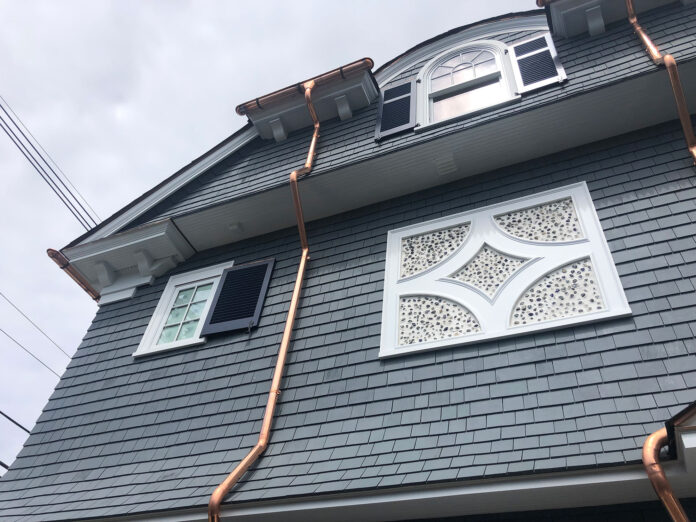
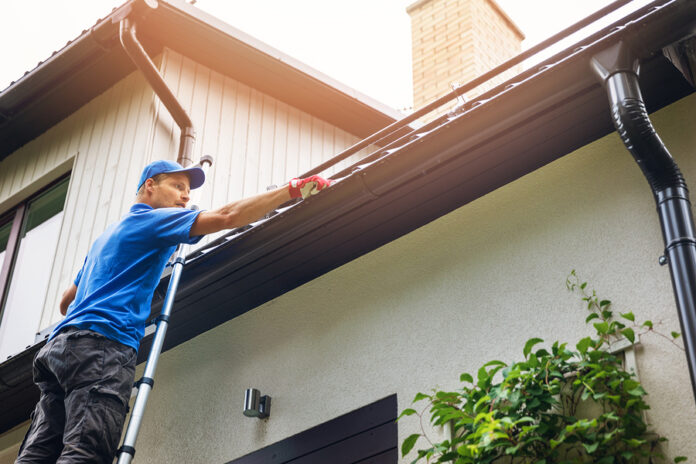
Gutters are not just an architectural afterthought. They play an essential role in safeguarding your home against weather damage. Among various materials, copper has emerged as a preferred option for those seeking durability and elegance. But the question persists: should you embrace the challenge of installing these gutters yourself, or entrust this task to professionals?
This guide, rich with insights from 2024, delves into both pathways, equipping you with everything needed to make an informed decision. Should you end up needing professional help, copper gutter installers are but a call away.
Gathering the Necessary Tools and Materials

Preparing adequately for a copper gutter installation means understanding the tools and materials required for the task. This process begins with gathering essential items such as a hacksaw or tin snips, ladder, chalk line, plumb bob, and copper nails or screws. Additionally, one needs waterproof sealant, end caps, outlets, hangers, and of course, copper gutters. Selecting the right quality tools not only makes the task easier but also ensures the longevity of your installation.
Having considered the tools, it’s worth focusing on safety. Installing gutters necessitates working at heights, making the right safety equipment imperative. Safety goggles, gloves, and harnesses can prevent unnecessary injuries while renting or investing in stable, good-quality ladders are non-negotiable. Quality and safety must go hand in hand, a philosophy that demands equal attention to both the tools and the precautionary gear.
Measuring and Planning
The journey toward a successful gutter installation starts with accurate measurements. Having a precise plan requires measuring the length of the roofline where the gutters will be installed. Include the downspouts in this calculation, accounting for every angle and corner of the roof. The measurements form the blueprint, ensuring the purchased materials fit perfectly, without wastage or shortages.
When the measurements are in hand, planning the actual layout comes into focus. This phase involves determining the slope of the gutters, usually a quarter-inch for every 10 feet, to allow water to flow to the downspouts efficiently. Additionally, considering the positioning of downspouts and mapping the entire layout carefully will set the stage for a smooth installation, avoiding surprises and mistakes later on.
Choosing the Right Type and Size

A plethora of copper gutter types await the discerning homeowner, each with its unique attributes and aesthetic appeal. From the common K-style to the timeless half-round design, understanding the available options is crucial. Consider your home’s architectural style and the climatic conditions in your area to make an informed choice. These factors will guide you to the optimal type of copper gutter that complements your dwelling.
With style settled, the task shifts to selecting the right size. Gutters typically come in five or six inches, with the latter preferred in areas prone to heavy rainfall. The choice is dependent on the roof’s slope and the region’s climate. While bigger models can handle more water, they might appear disproportionate on a smaller house. Therefore, balancing functionality with aesthetics is key to choosing the perfect copper gutter size.
DIY Option: Step-by-Step Installation Guide
Having all the necessary preparations in place, the DIY journey begins with an adventurous spirit. Start by aligning the gutter sections with the chalk line marked during the planning phase, carefully cutting the lengths as needed. Next, attaching end caps using a waterproof sealant and copper nails or screws will create the closed end required for proper function.
Transitioning from preparation to the actual installation requires attention to detail. Begin with the hanging brackets, spaced about 24 inches apart. Secure the gutters to the brackets, taking care to align them with the chalk markings, maintaining the slope planned earlier. Joint sections will need careful sealing, while downspouts should be attached to the outlets, all while consistently inspecting the alignment and connections.
Considering Professional Installation
With a rise in complexity and the time needed for a DIY approach, many homeowners might lean towards professional assistance. Hiring experts usually translates to precise installation and peace of mind. Experienced installers possess the tools, skills, and insights to turn your gutter system into an efficient and attractive addition to your home, with minimal disruption to your daily life.
The professional route comes with its considerations. The cost is generally higher than the DIY approach, and finding a reliable and experienced contractor requires due diligence. Thorough research, reading reviews, and seeking recommendations are essential steps in selecting the right professional. Remember, your gutters are a long-term investment, and choosing the right expert is paramount to realizing their full potential.
DIY vs. Professional Installation: Pros and Cons
Comparing DIY installation with professional services brings us to the crossroads of decision-making. DIY undoubtedly offers a sense of achievement and cost savings. However, it demands time, skill, and the acceptance of potential errors. The adventure of installing gutters yourself is not without risks and responsibilities.
Turning your gaze to professional services, the pros include expert craftsmanship, time savings, and often a warranty on the installation. However, the financial burden and the task of finding a trustworthy contractor weigh on the cons side. The comparison, therefore, boils down to personal preferences, budget constraints, and the level of complexity involved in your particular situation.
Maintaining and Cleaning

Your copper gutters, once installed, embark on their journey of shielding your home from the elements. Yet, they require maintenance to continue this role effectively. Regular inspections to detect damage, along with cleaning debris, are essential tasks. A semi-annual cleaning schedule can help maintain functionality and appearance.
Maintenance is not solely about cleaning. Seasonal checks for loose or damaged brackets, sealant failures, and signs of corrosion can preserve the life of your gutters. Engaging a professional service for maintenance or taking care with DIY methods can extend the beauty and efficacy of your copper gutters for decades.
Troubleshooting Common Issues
Even with meticulous care, gutters can present issues that demand troubleshooting. Leaks are common culprits that can emerge at seams or joints. Repairing them might involve resealing them with a waterproof sealant or even replacing a section if the damage is extensive. Another frequent challenge is sagging gutters, often due to overloaded debris or failure of brackets.
Addressing these issues can be simple or complex, depending on their nature. For instance, clogs can often be cleared with careful cleaning, while structural failures might necessitate professional intervention. Early detection and timely action are the keys to minimizing damage and maintaining the efficiency of your copper gutter system.
Final Thoughts

In the labyrinth of decisions surrounding copper gutters, this guide aims to be your compass. From understanding the right type and size to embracing the DIY spirit or hiring skilled professionals, the path to perfect gutters is filled with choices and considerations. Careful planning informed decision-making, and regular maintenance can transform this essential aspect of your home into an enduring asset.


