In the digital age, document scanning is a crucial process for businesses and individuals alike. It’s not just about converting physical papers into digital files; it’s about preserving, organizing, and enhancing accessibility to vital information. This blog post aims to provide professional tips for efficient document digitization.
Whether you’re a small business owner, a busy professional, or someone looking to declutter their home office, these tips will help you streamline your scanning process and ensure your digital documents are of the highest quality.
Gather Your Documents
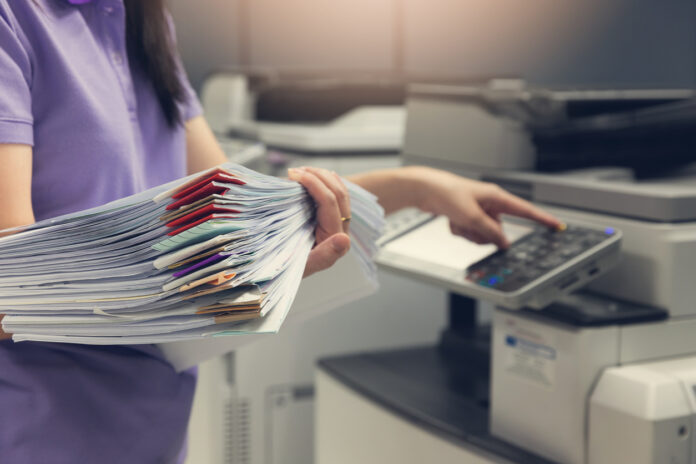
The first step in efficient document scanning is gathering all the documents you intend to digitize. This might seem straightforward, but it’s a critical stage that sets the tone for the entire process. Start by collecting every piece of paper, from important contracts to handwritten notes. Next, sort these documents into categories or folders. You might categorize them by type, such as financial docs, personal letters, or business contracts. Alternatively, you could organize them based on urgency or frequency of use. This organization not only makes the scanning process smoother but also helps in future document retrieval. Remember, a little time spent organizing now can save a lot of time later.
Remove Staples and Paperclips
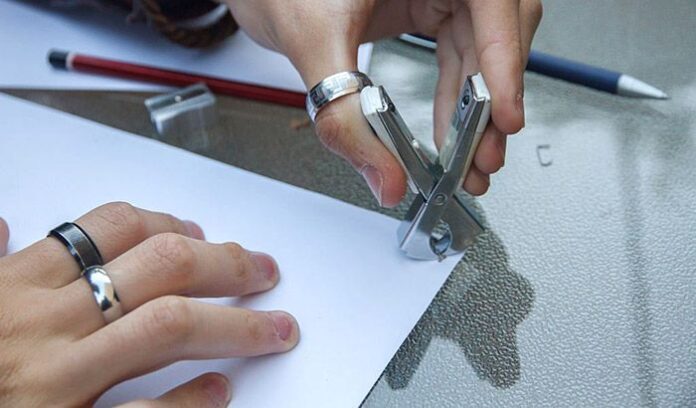
Before you start scanning, it’s essential to prepare your documents. This means removing any staples, paperclips, or other metal fasteners. These small items can cause significant problems during the scanning process. Staples and paperclips can scratch the scanner glass, leading to permanent damage. They can also cause paper jams, which disrupt the scanning process and potentially damage your docs. Furthermore, these obstructions can affect the quality of your scans, leading to unclear images or missed information. Taking a few moments to remove these items ensures a smoother, more efficient scanning process and protects both your documents and your scanner.
Choose the Right Scanner
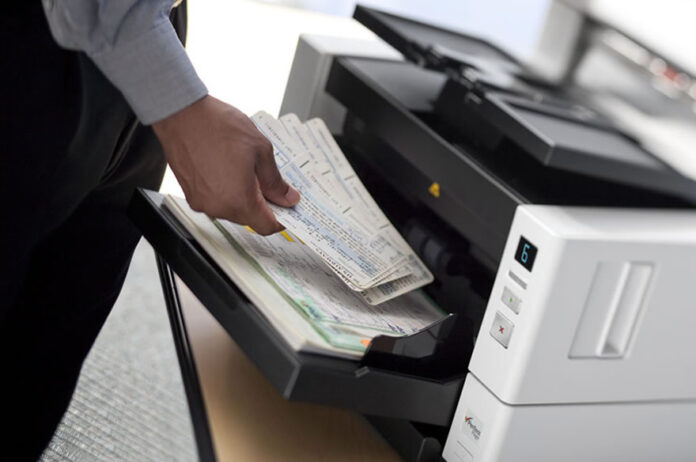
Selecting the right scanner is crucial for efficient document digitization. The type of scanner you need depends on the volume and nature of the documents you’re scanning. A flatbed scanner is ideal for delicate or bound materials, while a sheet-fed scanner is better for high-volume tasks. Portable scanners are great for on-the-go scanning. Additionally, consider the scanner’s resolution and speed. A higher resolution scanner captures more detail, which is essential for docs with fine print or detailed images. However, higher resolution scanning is slower and creates larger files. Balance your need for detail with storage considerations and scanning speed to choose the right scanner for your needs.
Clean the Scanner Glass
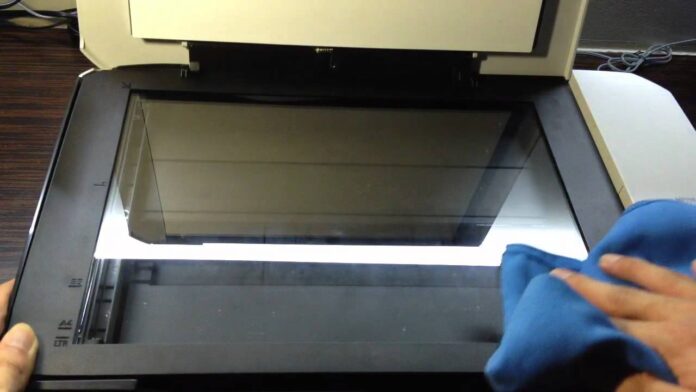
A clean scanner glass is essential for clear, high-quality scans. Dust, fingerprints, and smudges on the glass can cause streaks and spots on your scanned documents. To clean the scanner glass, start by turning off and unplugging the scanner. Use a soft, lint-free cloth slightly dampened with water or glass cleaner. Gently wipe the glass surface, being careful not to leave any fibers behind. Avoid spraying cleaner directly onto the glass, as excess liquid can seep into the scanner and cause damage. Regular cleaning not only ensures better scan quality but also prolongs the life of your scanner.
Set the Scan Settings
Configuring your scanner’s settings is a key step in the digitization process. The right settings ensure your documents are scanned with the appropriate quality and in the most suitable format. Resolution, measured in dots per inch (DPI), determines the detail level of your scans. For most docs, a resolution of 300 DPI is sufficient. However, for documents with fine details or images, a higher DPI may be necessary. Color mode is another important setting. Choose between color, grayscale, or black and white, depending on your document. Finally, select the right file format. PDF is ideal for most docs, while JPEG or PNG may be better for images. Adjust these settings based on your specific needs to get the best results.
Organize File Naming and Storage
A consistent file-naming convention is crucial for organizing your digital documents. It makes it easier to search for and retrieve files later. Develop a naming system that includes key information such as the document type, date, and subject. For example, ‘Invoice_20231204_ABC_Corp’ is more informative than ‘Scan1’. After scanning, decide where to store your digital docs. Cloud storage services offer accessibility and security, while local storage on a hard drive or server may be preferable for sensitive documents. Consider using a combination of both for added security and convenience.
Test Scan a Sample Document
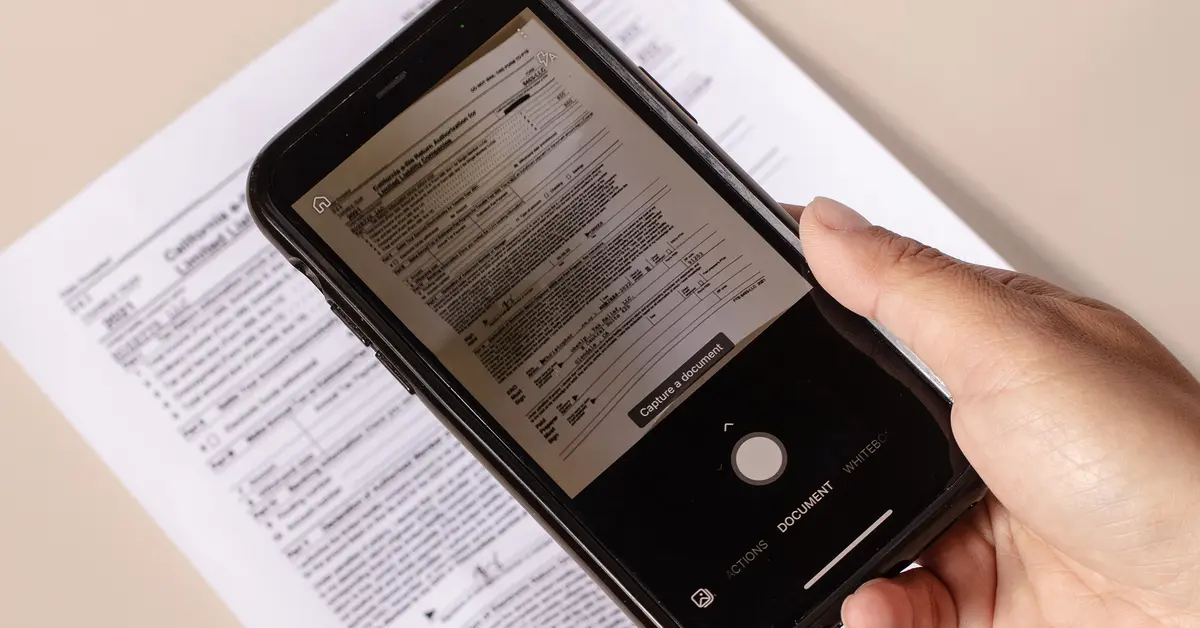
Before scanning all your documents, it’s wise to perform a test scan. This helps ensure that your scanner settings are correctly adjusted and that the scanner is functioning properly. Choose a sample document that’s representative of the batch you plan to scan. After scanning, examine the digital copy for clarity, legibility, and accuracy. If the quality isn’t up to par, adjust the scanner settings and try again. This step might seem time-consuming, but it can save you from having to re-scan docs later.
Scan Documents in Batches
Scanning documents in batches is a time-efficient approach. Group your documents by type, size, or scanning requirements. For instance, scan all legal-sized documents together, then move on to standard letter-sized papers. This method minimizes the need for frequent adjustments to the scanner settings and feed trays. Additionally, it helps maintain a rhythm and flow to the scanning process, making it quicker and more efficient. Organizing docs into batches also simplifies post-scanning tasks like file naming and storage.
Review and Edit Scanned Documents
After scanning, take the time to review your digital documents. Check for clarity, completeness, and correct orientation. If you find any issues, such as pages scanned upside down or unclear text, you can rescan the document or use editing tools to make corrections. Most scanner software includes basic editing features like rotate, crop, and adjust brightness/contrast. For more advanced editing, you might need a separate image editing software. This step ensures that your digital docs are of the highest quality and are ready for use or storage.
Backup Your Digital Documents

Backing up your digital documents is crucial for data security. Regular backups protect against data loss due to hardware failure, accidental deletion, or other unforeseen events. Use an external hard drive, cloud storage, or a combination of both for your backups. Ensure that your backup process is regular and automated if possible. This not only secures your data but also provides peace of mind knowing that your important documents are safe.
Dispose of Physical Documents Properly
Once your documents are digitized, decide how to dispose of the physical copies. For sensitive or confidential docs, shredding is the best option. This ensures that the information cannot be reconstructed or misused. For non-confidential papers, recycling is a responsible choice. Proper disposal of physical documents helps maintain privacy and security, and it’s an important step in the transition to a digital workflow.
Conclusion
Efficient document scanning and digitization can significantly streamline your workflow and declutter your space. By following these pro tips, you can ensure that your digital docsare of high quality, well-organized, and securely stored. Remember, the key to successful digitization lies in preparation, proper equipment, and consistent processes. Embrace these practices to make the most of your digital transformation journey.


