Teaching is something that is so rewarding, but it is not easy. You will find yourself keeping track of your lessons, your tests, but also all the children in your class. The best way to do this is with a planner. However, with everything on your plate, you will need that planner extremely organized. This can be an overwhelming task, but there are 10 essential tips that will help you with the process.
1. Selecting a Planner

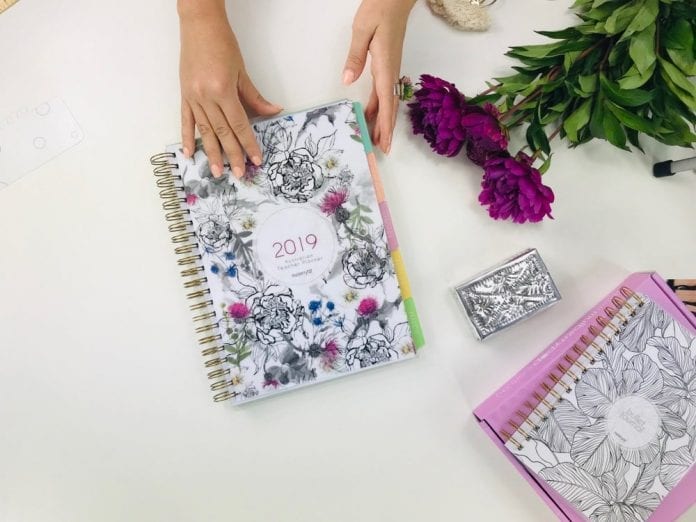
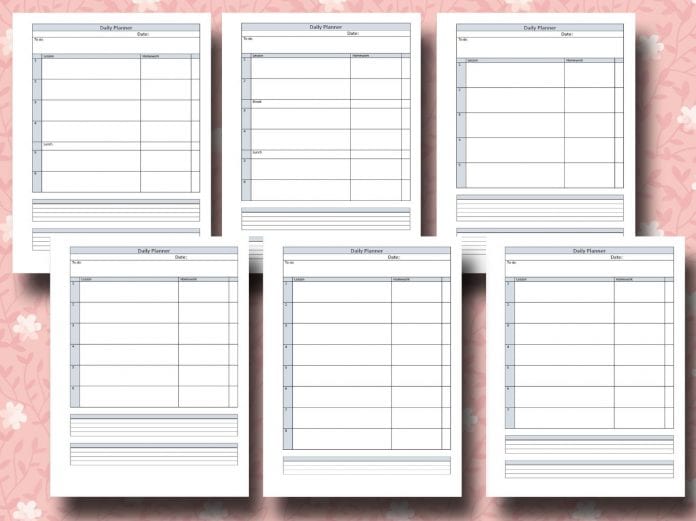
The first step in organizing a planner is finding one that works well for you. Everyone is going digital, but the best way to plan is with paper and pencil. Much of this is because this gives you the ability to edit and see things at a glance. You can also customize it to what subject and grade you are teaching. The planner must allow you enough room to write in it, as well as pockets that will allow you to slip the paper into. If you struggle to find a planner you like, you can always custom make one with a three-ring binder, however, an updated teacher planner list for 2024 to help you get started is here – check it out.
2. Triage Your Schedule
Once you have found the perfect planner, the first thing you will want to do is triage your schedule. You need to sit down and figure out which dates have the importance in your school life and put them in immediately. This should include holidays, conferences, and institute days or other days off. You will also want to include any known drills to make sure you are not planning tests when your kids are going to leave the classroom. After you have those dates in, you will want to start thinking about when state tests are so you can have your kids prepared.
3. Find Love with Sticky Notes

Sticky notes and tabs are a lifesaver when it comes to teachers. Constantly scribbling notes and shoving them in your planner will cause things to get lost. If you are not sure about a date or a time, then write it down and stick it in the planner. If you have to move it or it changes, you can either move the sticky note or simply throw it away. This replaces the need to have a pencil and a pen when it comes to the planner.
4. Use Stickers
Stickers are a teacher’s best friend, especially when it comes to planners. Kids love when their teacher knows it is their birthday, and to help your memory, use stickers. There are some planners that come with stickers, but you can also purchase fun and customizable stickers. The best part about stickers is the fact they are colorful and you cannot miss them as you open your planner in the morning.
5. Fill in the Contact Sections

When you meet the parents of your students, take down their contact information and keep that in your planner. Find out the parents’ email address, as well as their phone number so you have different ways to contact them. Finally, in each contact section, note what their preferred form of contact is so you can try it first. In the calendar portion of your planner, make note of when you contacted a parent and what form of contact you used to keep a paper trail of communication.
6. Create Good Lists
When you talk to your students about what they have read, watched, or done, create lists on what you found interesting. If something piques your interest in the first hour, you are not likely to remember it by the end of the day if you do not write it down. Use your planner to create a list of things that you found interesting and why, so you can get back to it when you go home.
7. Utilize To-Do Lists

A good planner will have a second on the weekly calendar, as well as the monthly calendar, for to-do lists. This is where you want to write down the things you need to do in the morning, in the afternoon, and anything you think of before you go to bed. This could include items such as checking to make sure you have all your materials, checking email, cleaning up the classroom, or even grading homework.
8. Love the Color
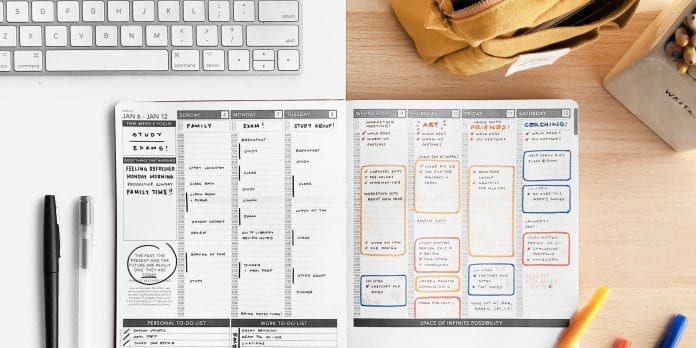
Even though it may sound easier to use one pen with your planner, to better organize, you will want to fall in love with color-coding. Once you start a system, do not change it. If something is important, write it in red so it stands out. If you have school fees due on a certain day, contemplate using green. Whatever your system is, keep to it. Also, consider using highlighters to remind you at a glance at important events.
9. Bind with Washi Tape
Help make your life easier by using washi tape to separate the planner into quarters. It is time-consuming to set it up, but it will make turning the pages easier and will let you know at a glance when you are getting close to the end of a quarter.
10. Remember Time for You
The best part of organizing your planner is making sure you take time to remember you. Back to the love of stickers, you can create pep talks for yourself. Always make sure you reserve time for yourself and use these stickers to remind you to take advantage of it.
Once you have a planner and you use these ten tips to organize it, you will find your teaching career just a tad easier. You will have plenty of time to stress about your children and their needs if you go into each school year organized.


